
Maintaining an organized workspace is paramount to productivity. Deleting unnecessary components from your Orbify dashboard helps declutter your workspace, ensuring that you can focus on what matters most. In this guide, we'll navigate through the process of deleting components on Orbify, empowering you to streamline your workspace effortlessly.
Removing Components from Your Dashboard
When you're working within your project, start by clicking the Edit button.
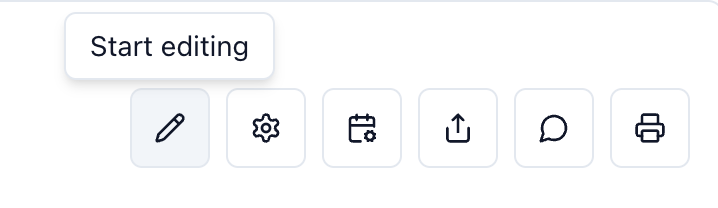
This will activate editing mode on your dashboard, and a red bin icon will appear on each individual component. If you want to remove a component, simply click on the red bin icon associated with it. The component will be immediately removed from your dashboard.

There’s no need to worry about saving your changes manually—Orbify takes care of that for you. Any modifications you make, including deleting components, are saved automatically in real time. This ensures your dashboard always reflects the most up-to-date version of your project without any extra steps.
Continue deleting components to your Orbify dashboard as needed to further customize your workspace.
Conclusion
Deleting components on Orbify is a simple yet effective way to streamline your workspace. By following the steps outlined in this guide, you can easily remove unnecessary components, keeping your dashboard organized and optimized for productivity. Take control of your workspace today by deleting components that no longer serve your needs, and enjoy a clutter-free environment that fosters efficiency.