
Orbify offers flexibility in organizing your dashboard layout. You can rearrange components by dragging and dropping them into your desired position. This allows you to prioritize important components and create a layout that suits your workflow preferences. In this guide, we'll navigate through the process of rearranging components on Orbify, empowering you to effortlessly optimize your workspace for efficiency.
Rearranging Components on the Dashboard
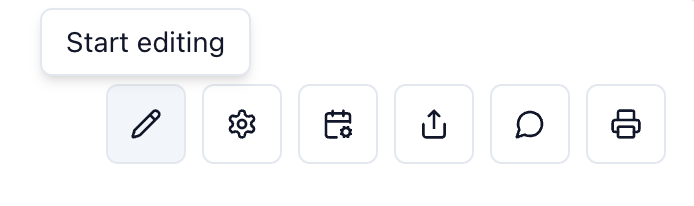
When you're working within your project, begin by clicking the Edit button to activate editing mode on your dashboard.
Once in edit mode, simply click and hold the component you want to move: drag and drop functionality will be enabled, allowing you to rearrange components freely within your workspace.
Continue rearranging components to your Orbify dashboard as needed to further customize your workspace!
Rearranging Components Across Tabs
You can also rearrange components across different tabs.
For example, if you're currently working in Tab 1 and wish to move a component to Tab 2, follow these steps:
Click the Edit button.
Instead of dragging the component, click on the blue dot with arrows that appears on each component.

The interface will prompt you to select the tab where you want the component to be moved.
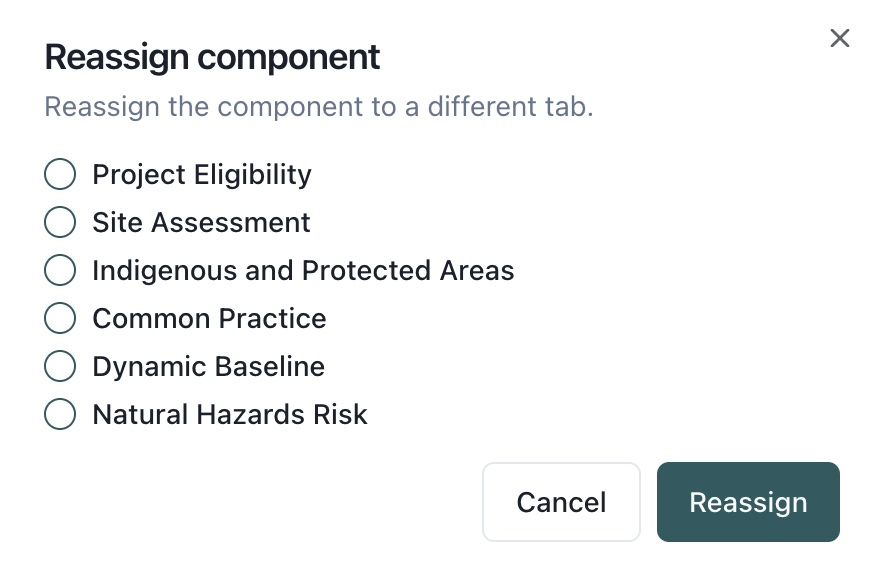
After selecting the desired tab, click Reassign to move the component there.
Once reassigned, you can find the component in the selected tab.
Conclusion
Rearrange components on Orbify is a simple yet effective way to streamline your workspace. By following the steps outlined in this guide, you can easily rearrange components, keeping your dashboard organized and optimized for productivity.