
Customizing your Orbify dashboard with components tailored to your workflow is key to optimizing productivity and organization. In this article, we'll walk you through the simple steps to add components to your Orbify dashboard, empowering you to create a workspace that supports your workflow seamlessly.
Accessing and Using the Add Components Menu
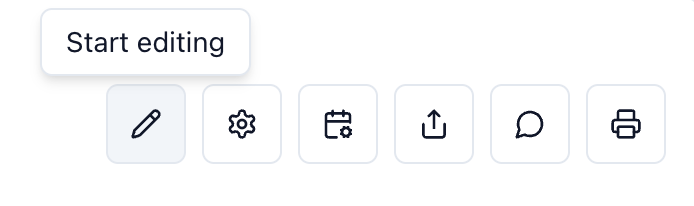
When you're working within your project, simply click the Edit button to get started.
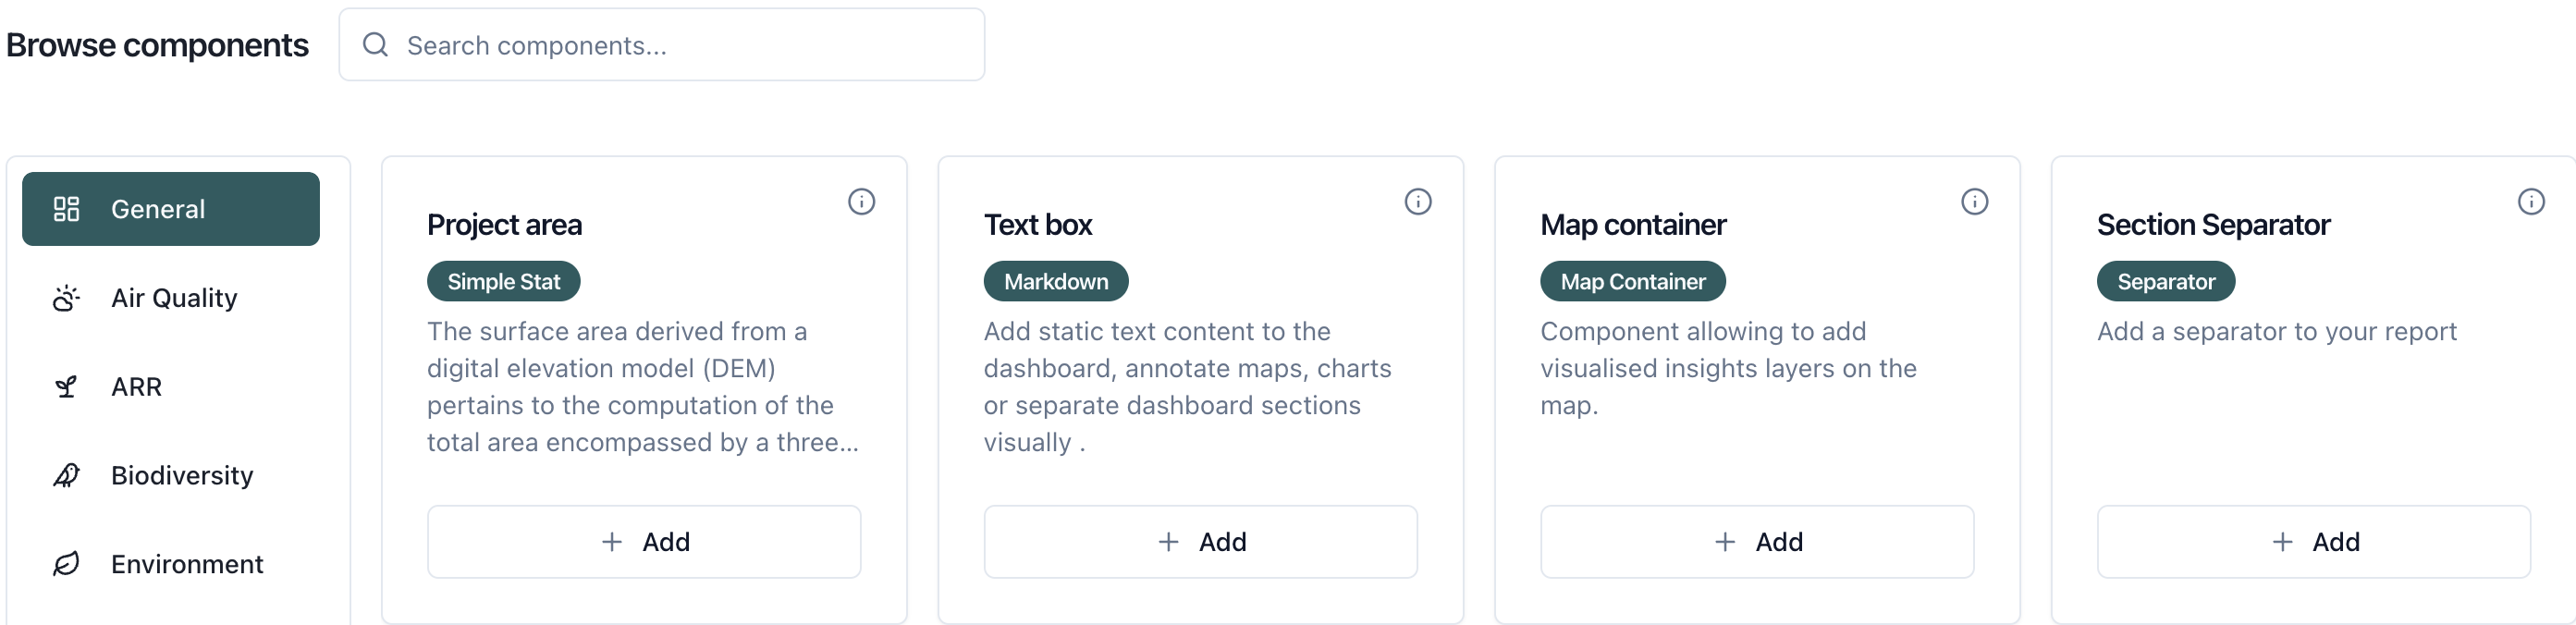
This will open the Add Components menu, where you’ll find a wide selection of components grouped into different categories.
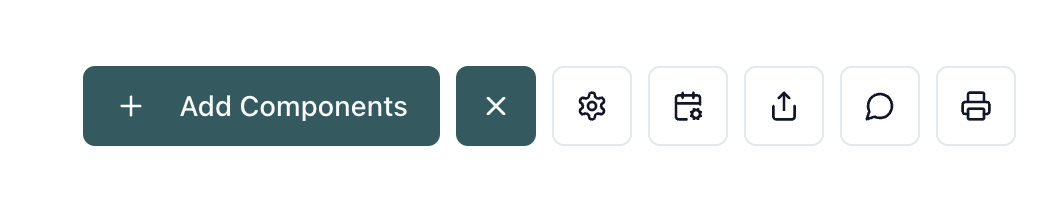
Browse through the available options and choose the components that best fit your needs. Orbify allows you to add up to five components at once, making it easy to build faster without having to repeat the process each time.
This streamlined workflow helps you stay focused and saves valuable time!
Add the Component to Your Dashboard
Click on “Add Components” to insert the selected component into your dashboard.

Once added, the component will appear directly in your workspace, giving you immediate access to its features and functionalities. Any changes you make to your dashboard, including added components, are saved automatically, no extra steps needed.

Experiment with different components to discover which ones enhance your productivity and organization the most!
Conclusion
Adding components to your Orbify dashboard is a simple yet powerful way to tailor your workspace to your specific workflow requirements. By following the steps outlined in this guide, you can easily add, customize, and arrange components to create a dashboard that supports your productivity and organization goals. Explore the wide range of components available on Orbify to build a workspace that empowers you to work more efficiently and effectively.